
Croeso – Welcome to Snippets of Craft! Your new go-to series for quick, creative, DIY craft projects with an eco-friendly ethos for kids and adults. In each post, I’ll share ideas and step-by-step tutorials that transform everyday recycled materials into charming creations, proving that creativity doesn’t have to be complicated or expensive. Whether you’re a seasoned crafter or looking for a fun activity to enjoy with your little ones, these easy-to-follow guides are designed to spark inspiration. Let’s dive in and start crafting something wonderful — one snippet at a time!
*affiliate links
DIY Bookmarks with Recycled Materials & Babipur Spring Paper Tape
Let’s kick off the Snippets of Craft series with a simple yet satisfying project — DIY bookmarks made from recycled materials and new Spring design Babipur paper tape .
Whether you’re an avid reader or want to make a thoughtful, handmade gift, these bookmarks are a perfect beginner-friendly craft. They’re easy to personalize, great for using up scrap materials, and a lovely way to add a touch of creativity to your reading routine.
In this tutorial, I’ll guide you step-by-step through creating your own unique bookmarks, using items you likely already have at home. So, grab your materials, and let’s start crafting!
What you’ll need
- Cardboard – The back of a boarded envelope works perfectly: sturdy enough to last but not too bulky for a book.
- Paper Tape – I chose a Spring theme with Babipur paper tape for a fresh, seasonal vibe.
- String or Ribbon – I used twine, as it complemented the natural tones of the kraft paper tape.
- Scissors
Optional
- Hole Punch — For threading the string or ribbon more easily.
- Beads or Charms — To add a decorative touch to the string.
- Markers or Stamps — For adding little doodles or personalized messages.
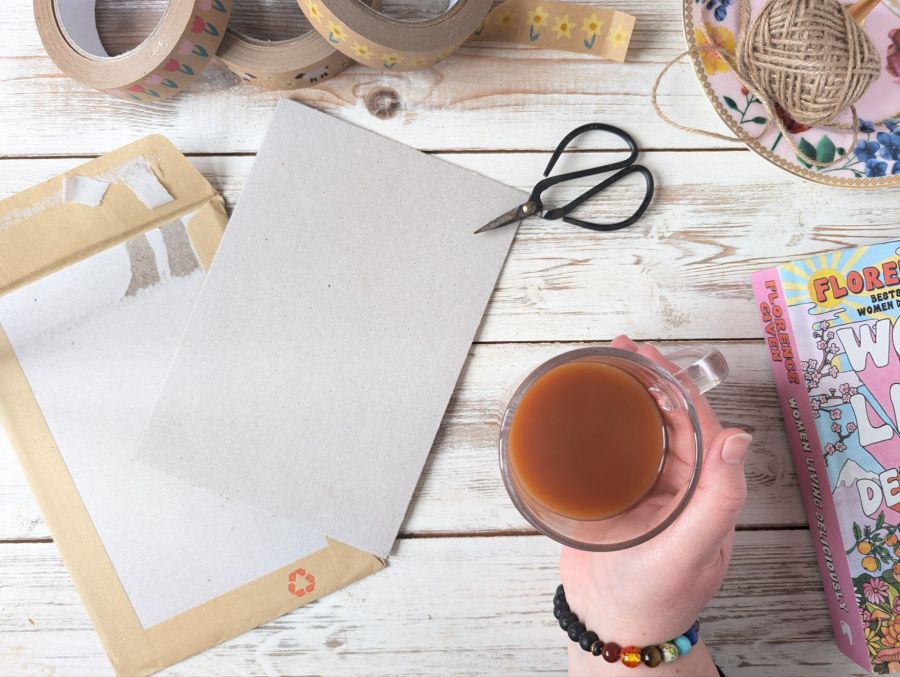
Step 1 – Gather up your tools and materials — you’ll probably find you already have everything you need around the house for this simple craft. Don’t forget to make yourself a cuppa, and let’s get started!
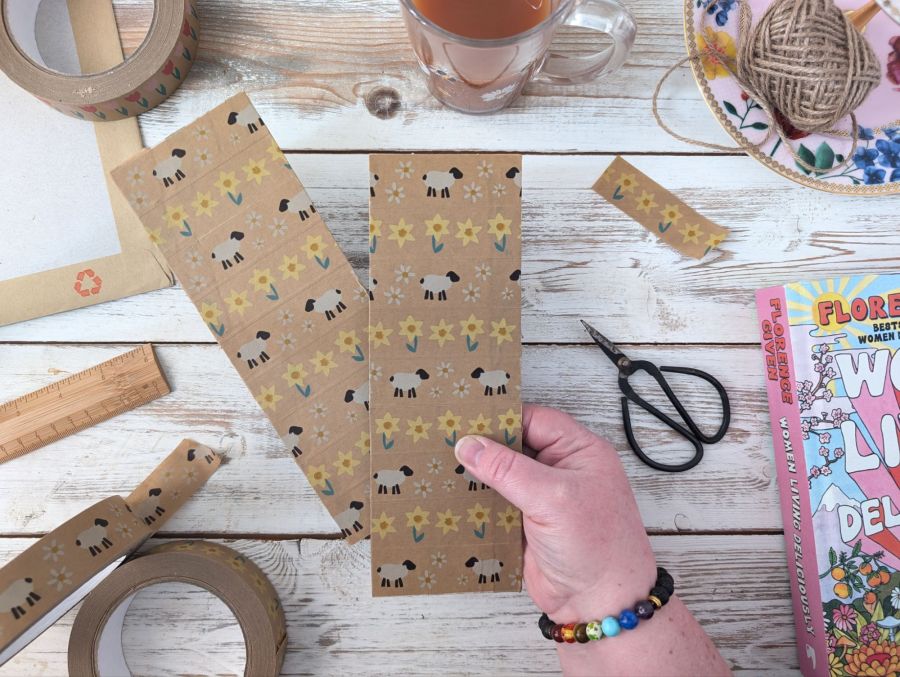
Step 2 – Cover your cardboard with paper tape. I alternated between these two designs, daffodils and sheep and daisies until I’d completely covered my piece of cardboard. Nothing says Spring more to me than flowers and seeing little lambs out in the fields so these designs are perfect.


Step 3 – Trim or fold over the excess tape to tidy up the edges.
Step 4 – Flip over and repeat.


The base for your bookmarks is now ready.
Step 5 – Cut your covered cardboard to your desired size, I decided on cutting mine in half to make two wide bookmarks.

Ready for the next step.
Step 6 – I added a bit more detail to one bookmark by shaping the top, rounding off by drawing an outline using an upturned plant pot.
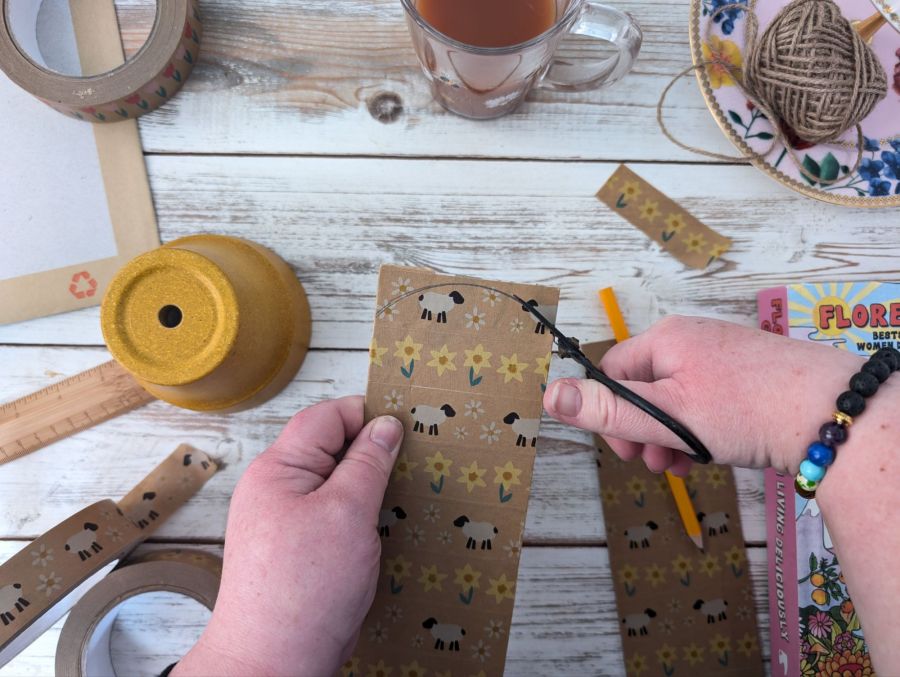

Step 7 – Use a sharp pencil to create a hole at the top to thread your string / ribbon through. You could also use a hole punch – I couldn’t find mine at the time 🙉 .
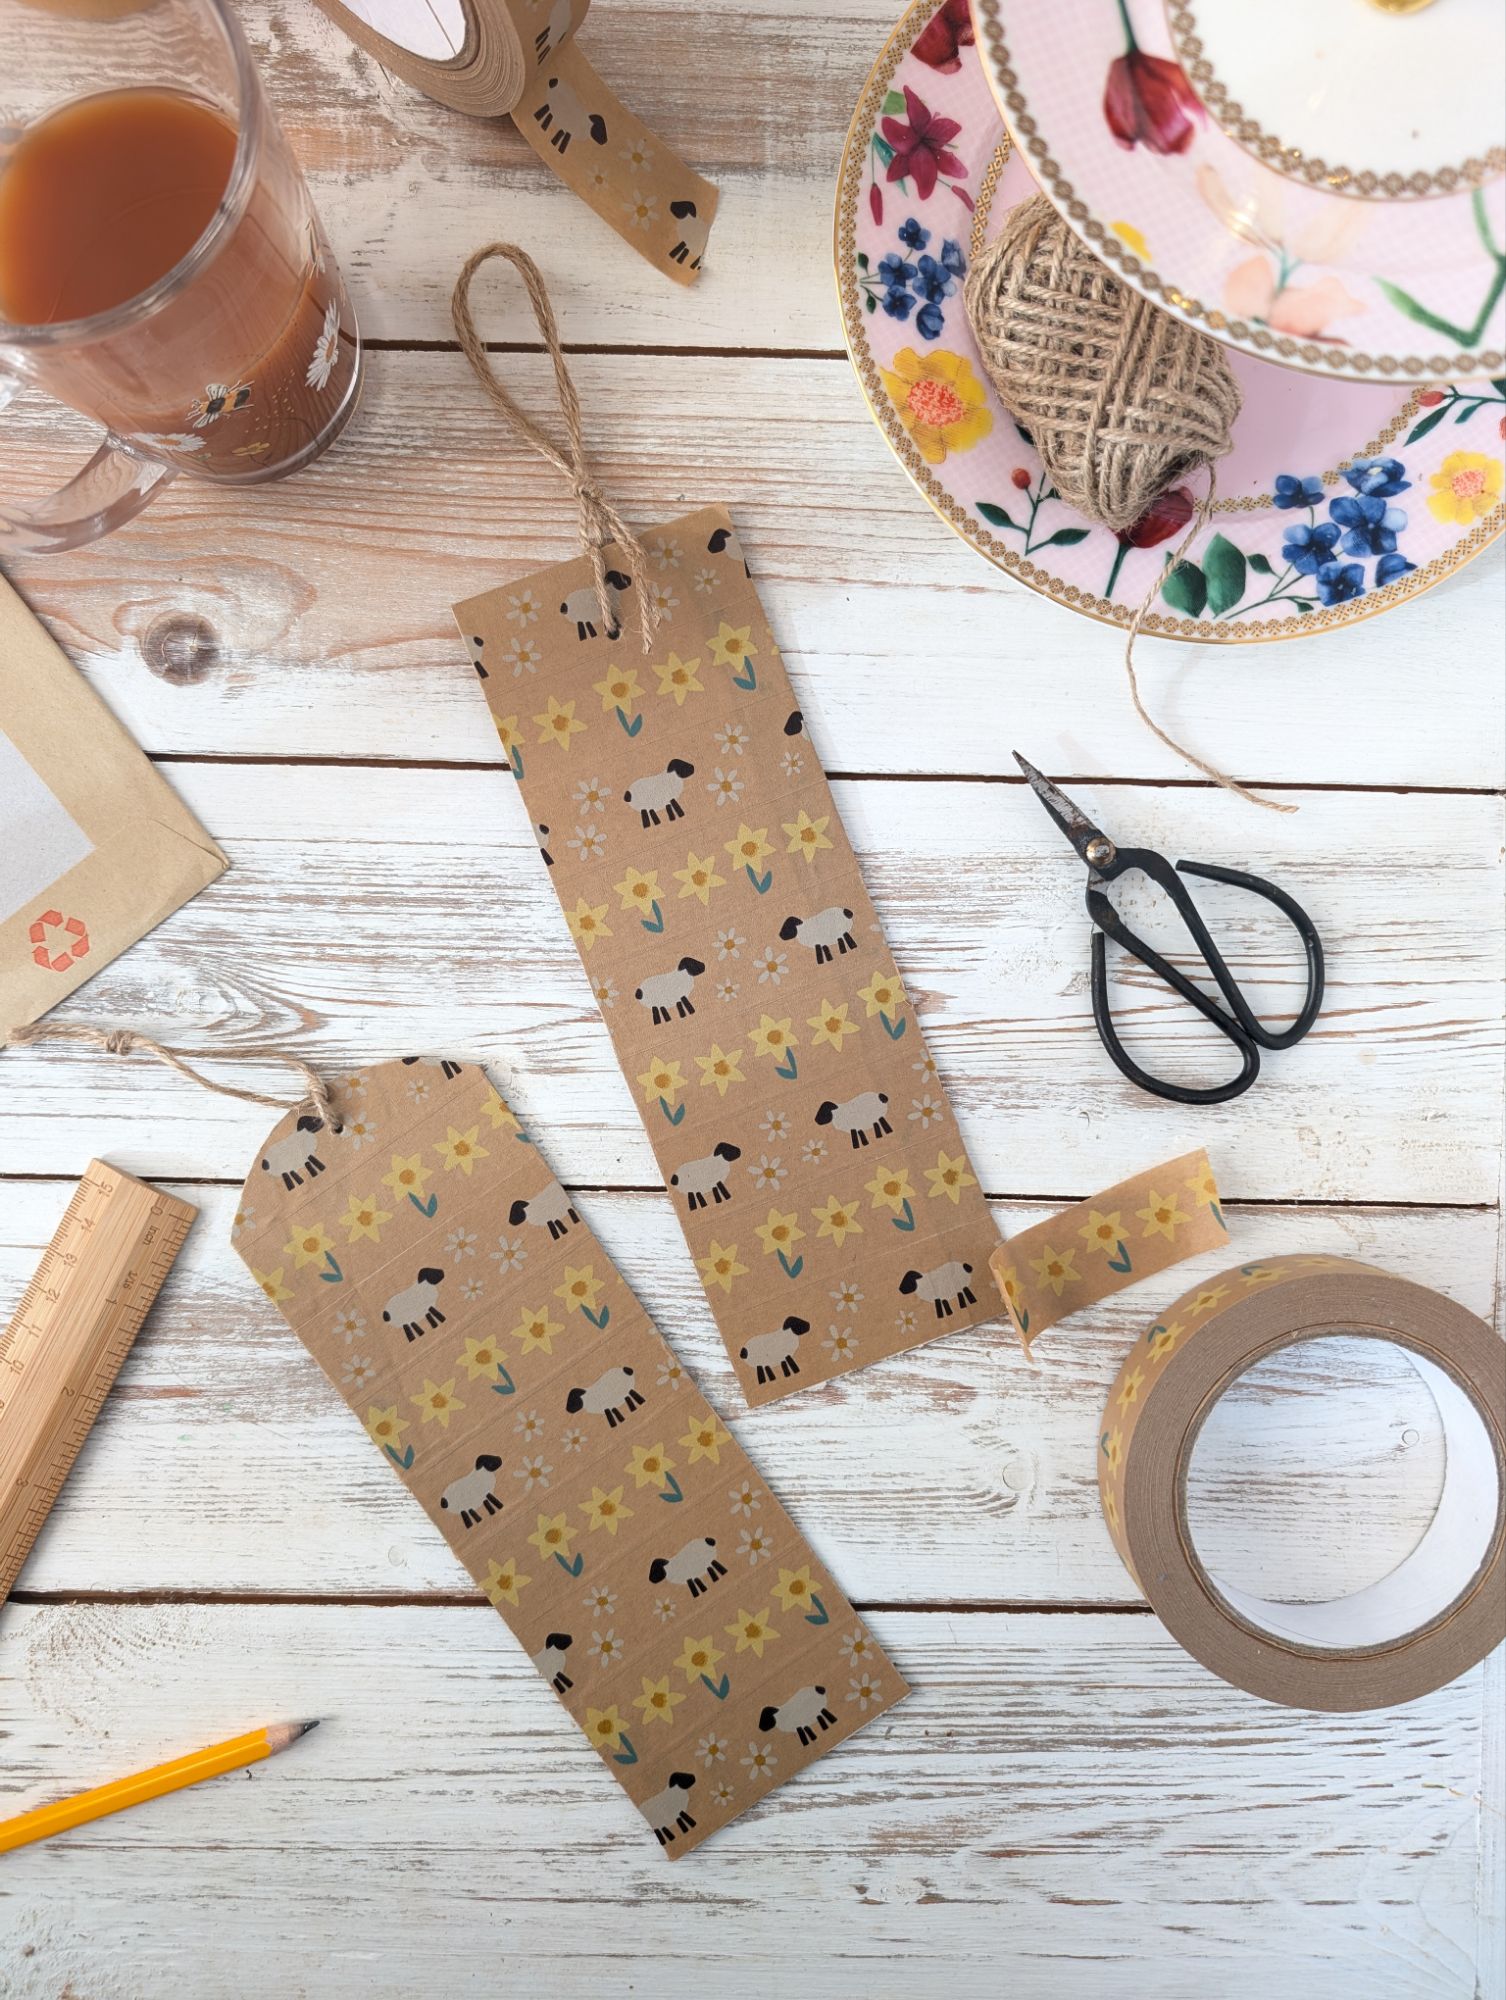
And that’s it — your homemade bookmark is ready to mark your next chapter! Make a few extras to gift to friends or swap out seasonally for a fresh look.

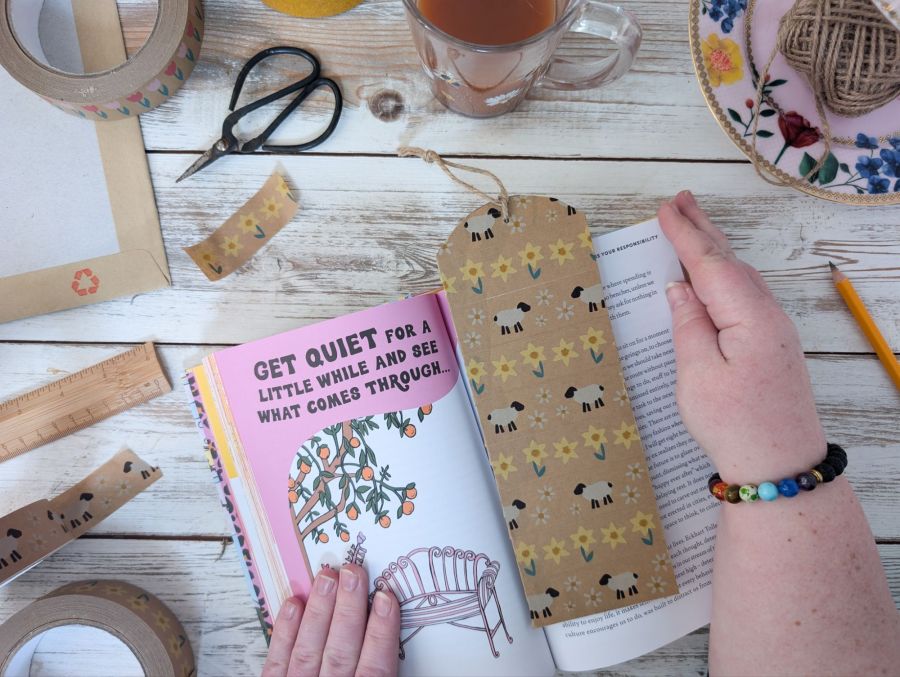
Don’t forget to use it on your next reading session, mine is already in use on my current read – Florence Given’s, Women Living Deliciously.
Tips
You could further personalise your bookmarks by adding a name or phrase using paint pens, markers or stamps. Beads or charms could also be added to the string.
Let me know if you have a go at making your own bookmarks. I’d love to see your creations, use the hashtag #SnippetsOfCraft and tag me on Instagram @ourlittlesnippets
Stay tuned for the next Snippets of Craft project, where I’ll be showing you how I made some story sack props for World Book Day – they’re perfect for little story lovers any day though!
